

Why Use a VPN?
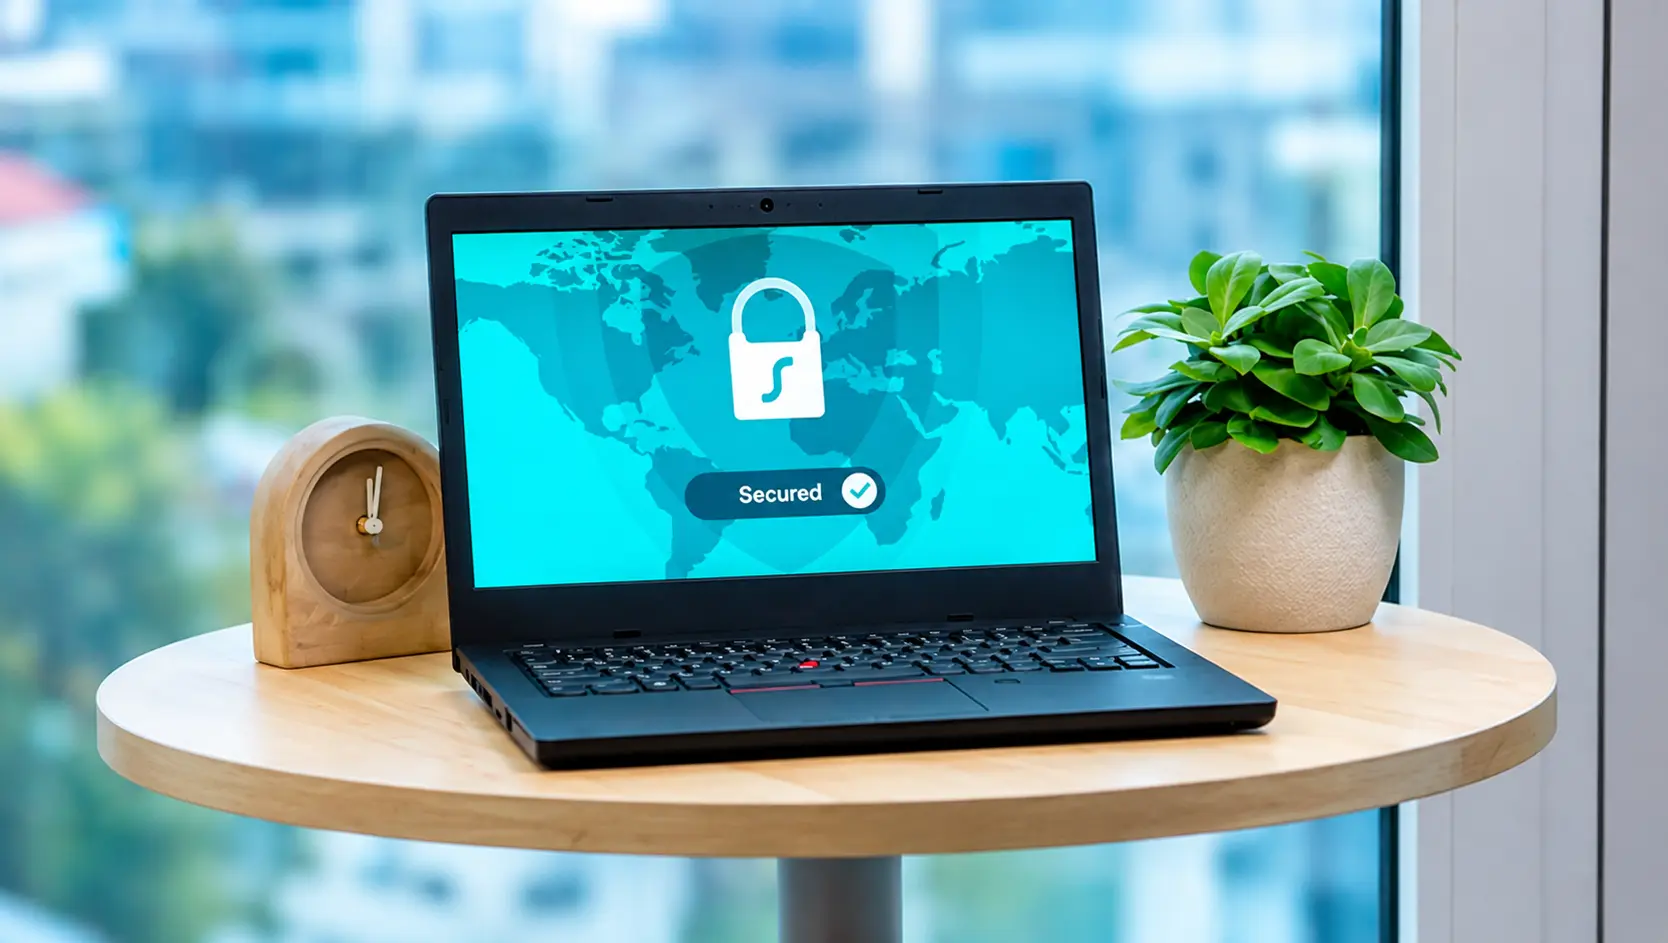
A Virtual Private Network or VPN, is a service that protects your personal data while you are surfing online. By connecting to a VPN server your internet service provider and other third parties will no longer be able to see which websites you visit. This could be particularly useful for those who want to access websites which are blocked from their country. It can also be used to watch streaming services from countries all over the world.
Finding the Right VPN Extension
All VPNs, designed as VPN extensions for Chrome, are presented on Chrome Web Store. Some VPNs offer a free version with limited options and others offer paid subscriptions with more options and higher speed. You can read customer reviews and compare different features of VPNs such as encryption, server locations and speed. Choose the one that you think is best for you and proceed to the setup.
Installing the VPN Extension
There is more to setting up a VPN Extension for Chrome than simply deciding to get the free VPN for Chrome. The first step is choosing a Virtual Private Network Extension. You must search for the desired service in the Chrome Web Store. You can use the search field to search for specific service names. Click the “Add to Chrome” button on the right-hand side once you have found the service. After confirming the permissions that need to be granted, you can add the desired Extension in a flash by clicking “Add Extension”.
Logging In or Signing Up
Once installed, you need to click on the newly added VPN extension icon to open the VPN extension for Chrome. Now you can log into your VPN account. Most VPN services, like Express VPN or ZenMate VPN, for example, allow you to sign up for free VPN for Chrome in order to test the service out. So in this case, you would need to sign up first for a VPN service. Also, make sure to verify your email address for the free VPN for Chrome, once you have signed up for it first time.
Configuring Settings
Most of the VPN extensions and chrome VPN tools are set up to be easy to use, with drop-down menus to choose from different locations, and to switch on and off privacy settings and other features such as a kill switch to name a few. It is recommended to go through all of the settings to choose what you would like to use, and ensure that you get the privacy and security online that you need.
Connecting to the VPN
You’re done. Simply select your desired location from the drop-down menu and click “Connect”. The extension will establish a connection and the interface will change (for example it will turn green or display a notification saying that you are now connected to VPN). That’s it, you are now surfing the web with added security.
The process of setting up a VPN extension for Chrome can take mere minutes, and can help keep your online activities secure. So start now!
